Unlocking ICloud Find: Your Ultimate Guide To Tracking And Securing Your Devices
Let’s face it, folks—we’ve all been there. You’re scrolling through your phone, sipping coffee, and suddenly you realize your iPhone is missing. Panic sets in, but then you remember—iCloud Find’s got your back. Whether it’s about tracking a lost device or securing your data, iCloud Find is the knight in shining armor you didn’t know you needed. So, buckle up, because we’re diving deep into everything you need to know about iCloud Find and how it can save your bacon.
Now, before we get into the nitty-gritty, let’s level set. iCloud Find isn’t just some random app or feature—it’s a lifesaver. Imagine being able to pinpoint the exact location of your lost iPhone, iPad, or Mac, even if it’s miles away. Sounds too good to be true? It’s not. iCloud Find is here to make sure your devices don’t wander off without you knowing.
And hey, this isn’t just about finding lost gadgets. We’re also talking about protecting your sensitive data, ensuring your privacy, and keeping your digital life in check. So, whether you’re a tech-savvy pro or just someone who wants to keep their devices safe, this guide is for you. Let’s dig in!
What Exactly is iCloud Find?
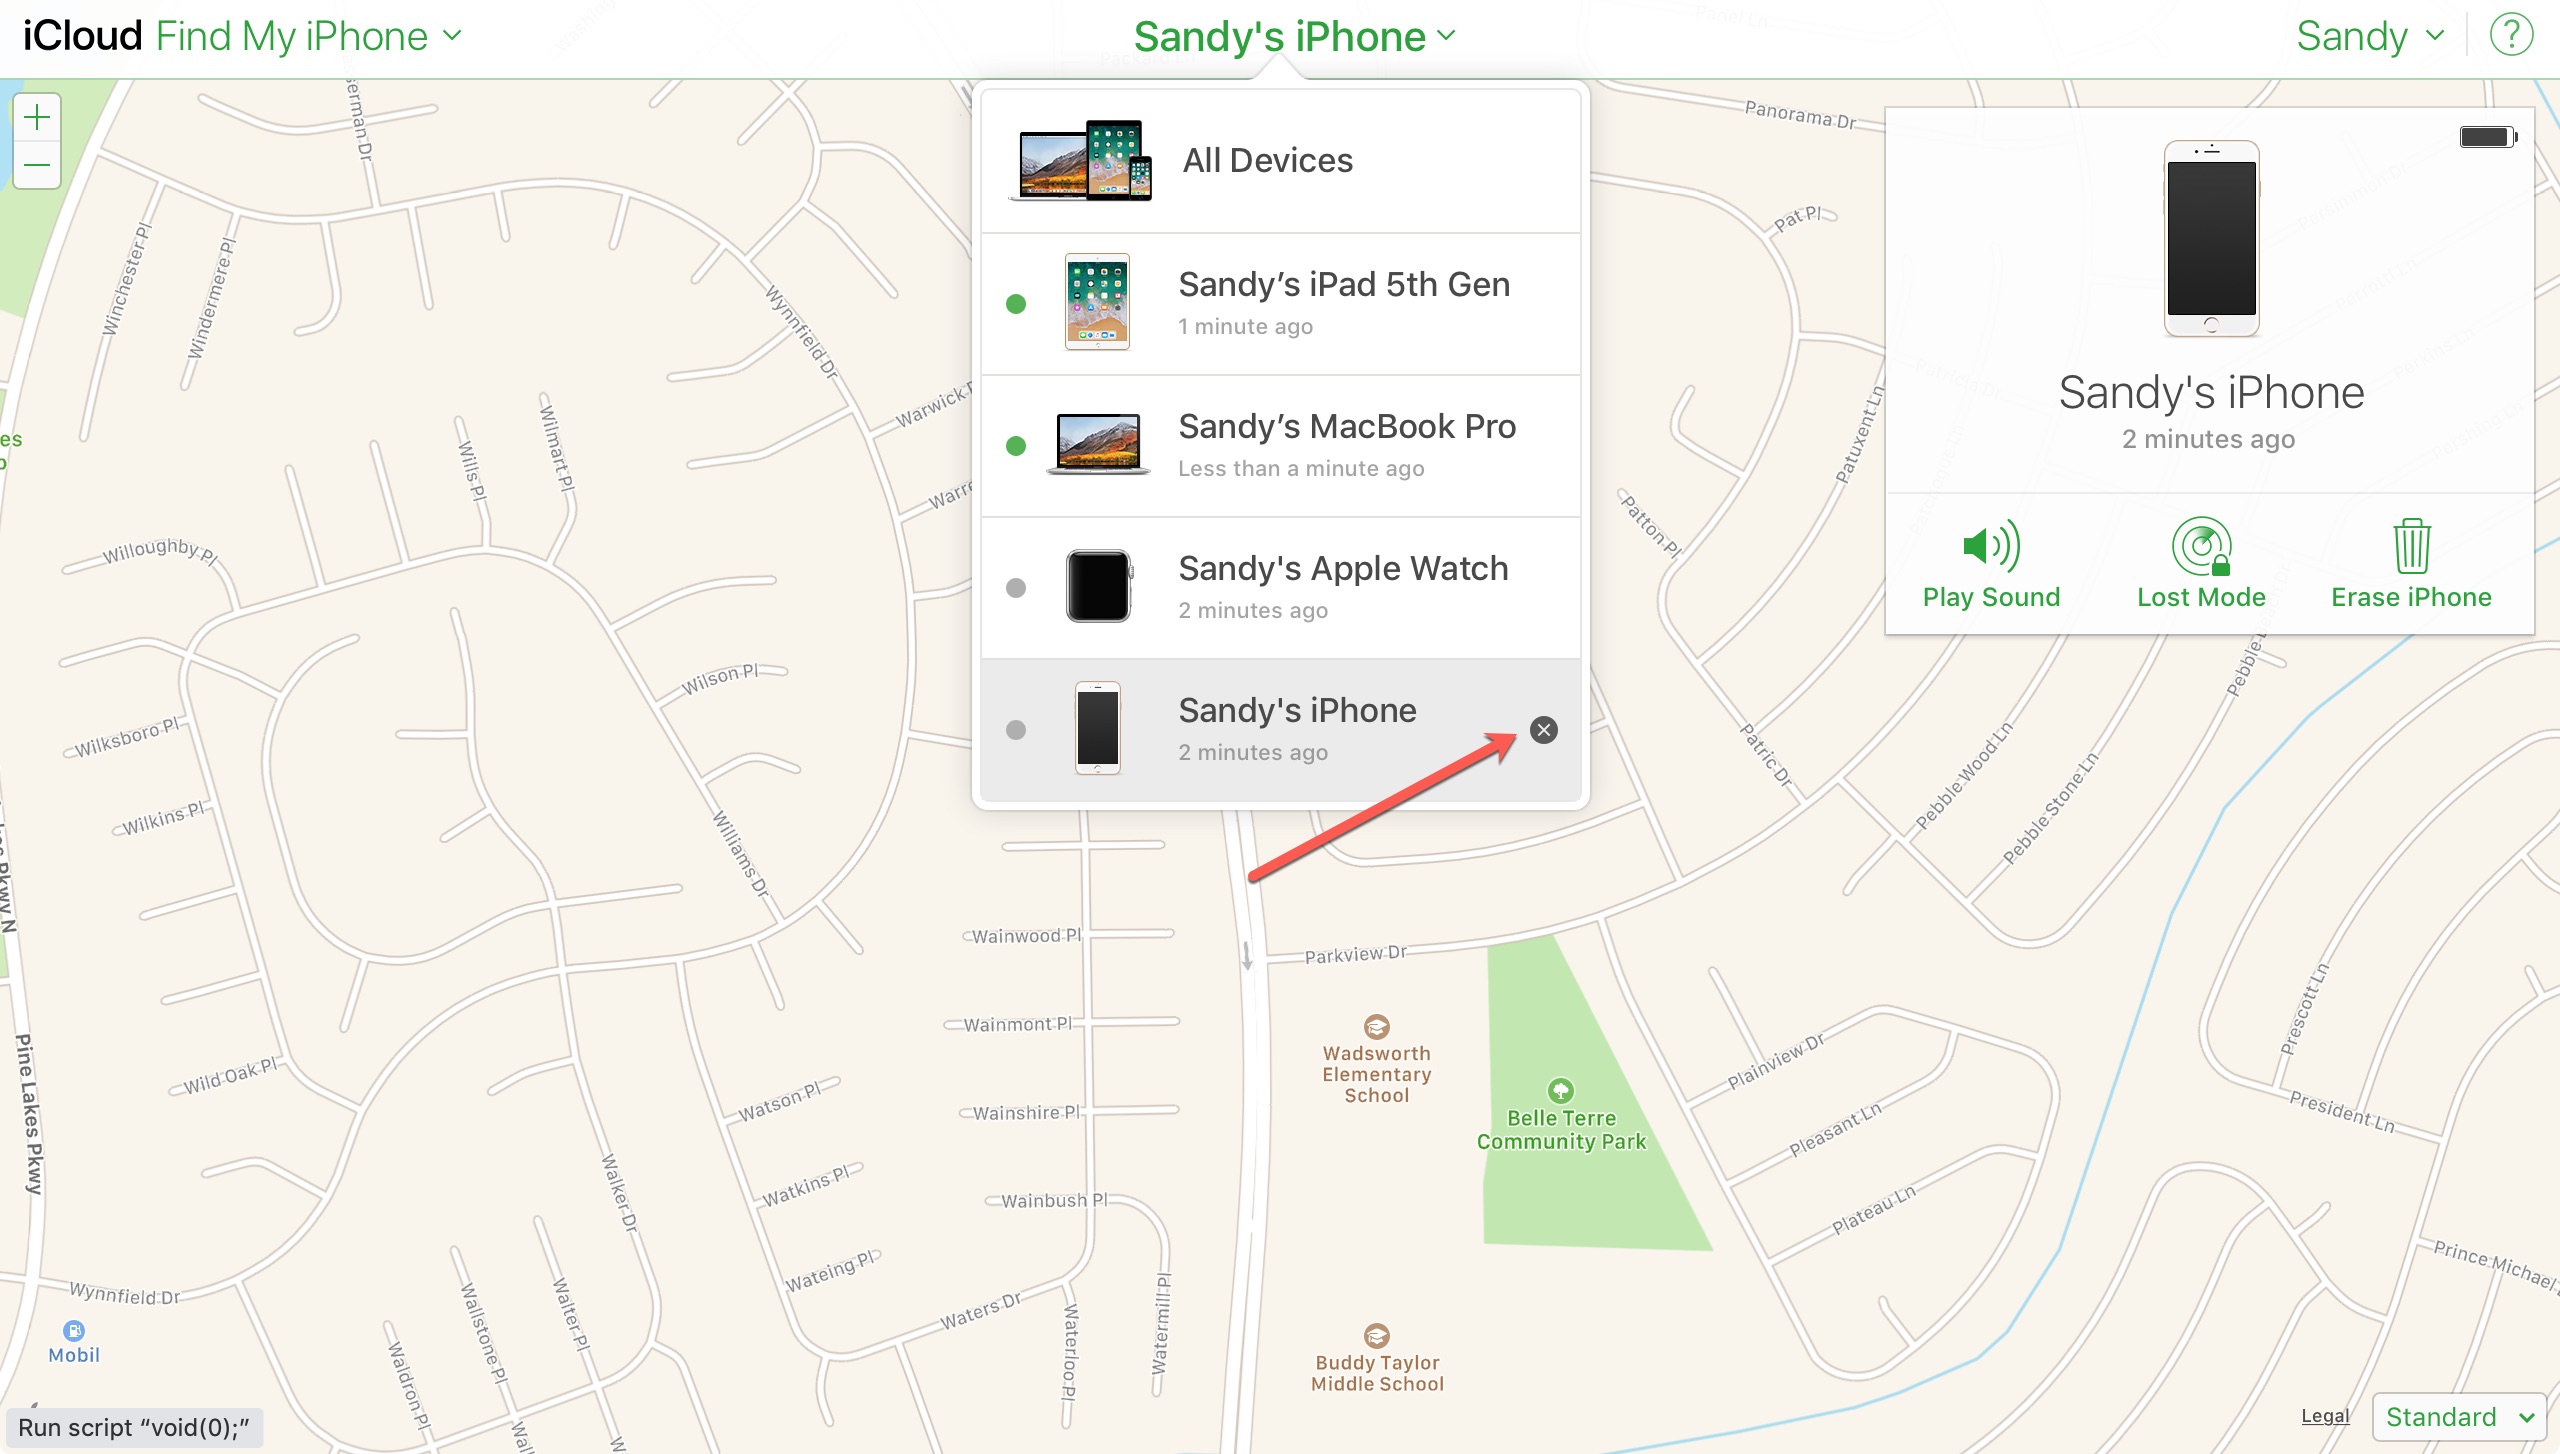
Alright, so what exactly is iCloud Find? In a nutshell, it’s a feature within Apple’s iCloud ecosystem that lets you locate, lock, and erase your Apple devices remotely. Think of it as your personal GPS for all things Apple. But here’s the kicker—it’s not just about finding your phone. You can use it to track your AirPods, Apple Watch, and even your Macbook. It’s like having a digital leash for all your gadgets.
And the best part? iCloud Find isn’t some fancy add-on that costs an arm and a leg. Nope, it comes standard with every Apple device, as long as you’ve got iCloud set up. So, whether you’re rocking an iPhone 15 or an older model, you’re covered.
How iCloud Find Works: A Sneak Peek
So, how does iCloud Find work its magic? Well, it’s all about GPS and Wi-Fi. When you activate iCloud Find on your device, it starts sending location data to Apple’s servers. This means that even if your device isn’t connected to the internet, iCloud Find can still locate it once it reconnects. Pretty slick, right?
And here’s another cool feature—iCloud Find works even if your device is powered off. How? Thanks to something called “Offline Finding.” Essentially, other Apple devices nearby can help locate your lost gadget by sending its location to Apple’s servers. It’s like having a whole network of detectives working for you.
Why iCloud Find is a Must-Have
Now, you might be thinking, “Do I really need iCloud Find?” Trust me, you do. In today’s world, losing a device isn’t just about losing a piece of hardware. It’s about losing access to your personal data, photos, messages, and more. iCloud Find gives you peace of mind by letting you know exactly where your device is at all times.
But that’s not all. iCloud Find also lets you lock your device remotely, ensuring no one can access your sensitive information. And if all else fails, you can remotely erase your data, keeping it out of the wrong hands. It’s like having a personal security team at your fingertips.
Benefits of Using iCloud Find
- Track the exact location of your lost devices
- Remotely lock your devices to prevent unauthorized access
- Erase your data remotely to protect your privacy
- Set up a custom message to display on your lost device
- Access location history to see where your device has been
And let’s not forget about the convenience factor. With iCloud Find, you don’t have to physically go looking for your lost device. You can do everything from the comfort of your own home. Now, that’s what I call modern-day wizardry.
Setting Up iCloud Find: A Step-by-Step Guide
Alright, now that you know why iCloud Find is so important, let’s talk about how to set it up. Don’t worry—it’s a breeze. Here’s a quick step-by-step guide to get you started:
Step 1: Open the Settings app on your Apple device.
Step 2: Tap on your name at the top of the screen to access iCloud settings.
Step 3: Scroll down and tap on “Find My.”
Step 4: Toggle on “Find My iPhone” (or whichever device you’re setting up).
And that’s it! You’re all set. iCloud Find will now start tracking your device’s location. Easy peasy, right?
Tips for Maximizing iCloud Find
Now that you’ve got iCloud Find up and running, here are a few tips to make the most out of it:
- Enable “Send Last Location” to ensure your device sends its location before the battery dies.
- Set up a custom message to display on your lost device, including your contact info.
- Regularly check the location of your devices to ensure everything’s in order.
And remember, prevention is key. Keep your devices secure by using strong passwords and enabling two-factor authentication. It’s like putting a lock on your digital front door.
Common Misconceptions About iCloud Find
Before we move on, let’s clear up a few common misconceptions about iCloud Find. First off, some people think that iCloud Find drains your battery. Not true. iCloud Find only uses your device’s location services when necessary, so it won’t eat up your battery life.
Another myth is that iCloud Find can be easily bypassed by turning off the device. Wrong again. Thanks to Offline Finding, iCloud Find can still locate your device even if it’s powered off. So, don’t sweat it—you’re covered.
Addressing Privacy Concerns
Now, I know what you’re thinking. “Does iCloud Find compromise my privacy?” The short answer is no. Apple takes privacy very seriously, and all location data is encrypted and stored securely. Plus, only you can access your device’s location, so rest assured that your data is safe.
And if you’re still worried, you can always turn off iCloud Find whenever you want. It’s completely up to you. But trust me, once you start using it, you’ll wonder how you ever lived without it.
Advanced Features of iCloud Find
Alright, let’s talk about some of the advanced features of iCloud Find. Did you know you can use iCloud Find to track more than just your devices? That’s right—you can also track your AirTags and other compatible accessories. It’s like having a GPS for all your stuff.
And here’s another cool feature—“Find My Friends.” With this, you can share your location with trusted contacts, so they always know where you are. It’s perfect for families, roommates, or anyone who wants to stay connected.
How to Use iCloud Find with AirTags
Using iCloud Find with AirTags is a game-changer. Here’s how it works:
Step 1: Attach your AirTag to the item you want to track (e.g., keys, wallet, backpack).
Step 2: Open the Find My app on your Apple device.
Step 3: Tap on the Items tab to see the location of your AirTag.
And if your AirTag is out of range, don’t worry. iCloud Find will notify you as soon as it comes back into range. It’s like having a digital guardian for all your belongings.
Real-Life Scenarios: How iCloud Find Can Help You
Let’s talk about some real-life scenarios where iCloud Find can come in handy. Imagine you’re at a coffee shop, and you accidentally leave your iPhone behind. With iCloud Find, you can quickly locate it and even set it to play a sound, making it easy to find.
Or let’s say you’re on vacation, and you misplace your AirPods. No problem. Just open the Find My app, and you’ll know exactly where they are. And if someone tries to steal your device, you can remotely lock it, ensuring your data stays safe.
Case Studies: Success Stories with iCloud Find
There are countless success stories of people using iCloud Find to recover their lost devices. Take Sarah, for example. She lost her iPhone at a music festival, but thanks to iCloud Find, she was able to locate it and get it back. Or there’s John, who used iCloud Find to recover his stolen MacBook. The possibilities are endless.
And it’s not just about finding lost devices. iCloud Find has also helped people locate missing pets, track down stolen cars, and even reunite families. It’s truly a game-changer.
Troubleshooting iCloud Find
Of course, no technology is perfect. If you’re having trouble with iCloud Find, here are a few troubleshooting tips:
- Make sure iCloud Find is enabled on your device.
- Check that your device is connected to the internet.
- Ensure your device’s battery isn’t dead.
- Try restarting your device to see if that resolves the issue.
And if all else fails, don’t hesitate to reach out to Apple Support. They’re always happy to help.
Common Issues and Solutions
Here are some common issues people face with iCloud Find and how to fix them:
- Device not showing up in Find My app: Make sure the device is turned on and connected to the internet.
- Location not updating: Restart your device and ensure location services are enabled.
- Unable to lock or erase device: Check your internet connection and try again later.
Remember, patience is key. Sometimes it just takes a little time for everything to sync up.
Conclusion: Why iCloud Find is Essential
So, there you have it—everything you need to know about iCloud Find. Whether it’s about tracking lost devices, securing your data, or keeping your digital life in check, iCloud Find has got you covered. It’s a powerful tool that every Apple user should take advantage of.
And here’s the best part—iCloud Find is free, easy to set up, and packed with features. So, what are you waiting for? Go ahead and set it up today. Your future self will thank you.
And hey, don’t forget to share this article with your friends and family. The more people who know about iCloud Find, the better. Together, we can make the world a safer, more connected place. Now, go forth and find!
Table of Contents
- What Exactly is iCloud Find?
- Why iCloud Find is a Must-Have
- Setting Up iCloud Find: A Step-by-Step Guide
- Common Misconceptions About iCloud Find
- Advanced Features of iCloud Find
- Real-Life Scenarios: How iCloud Find Can Help You
- Troubleshooting iCloud Find
- Conclusion: Why iCloud Find is Essential


